Echo Blind Openers - Part 3
Now that we’ve designed, created, and tested our prototype (Part 1 and Part 2), it’s time to build the final shield and modify the code for your specific needs.
Modify the Code
I’ll walk through the Arduino code step by step to show you where you can make adjustments for your projects. As I mentioned before, the latest version of all the code can be found in this GitHub repository.
As I talk through these steps, roll-over the text with your mouse and you’ll see the specified lines of code light up in the snippets below (nifty new feature, huh?).
These first two lines attach the servo motors to the Arduino pins responsible for their triggering. In our case, we attached one to Pin 8 and one to Pin 9. If you attached them to different pins, just change the numbers in the code below.
These next few lines set the baud rates for the two serial ports. We can look into the first `Serial` to see any print-outs we're sending via `Serial.println` (this is very useful for debugging). `Serial2` is used to send commands to the WiFi Module.
The rest of this snippet asks the module to connect to your home WiFi. Leave this code as is.
After the module is successfully connected to the WiFi network, it'll begin to loop through the following code over and over again. What it's basically doing here is building a command, stored in the variable `cmd`, that tells the WiFi module where to look for instructions to pass to the motors. From the previous post, we know that it'll go to the Relay server to see if it's got any messages waiting.
If it finds that there is indeed a new message, here it starts to read the message (which comes in the form of a json file) so it can tell the Arduino what to do next. Again, leave this code as is.
One sub-optimal piece of our code is that it assumes the first time you fire up this project, your blinds will be closed. After that, it will check whether they are closed or open so it doesn't accidentally open them twice, but the very first time, it won't know.
The way to actually rotate the blinds is by writing microseconds to the servo motors, which sets the angle of the shaft. To open the blinds (rotate counter-clockwise), we set `microseconds` to 1700, and to close them (rotate clockwise), we set to 1300. You may need to change these numbers depending on which way your blinds rotate to open and close. Try changing these values to see what happens.
The `delay` in the code is set to 8000 microseconds allowing the blinds motors to run in whatever direction was given to them for 8 seconds. You may want to change this number depending on how long it'll take to open or close your blinds.
Finally, we write 1500 microseconds to the motors in order to stop them, and store their final state in a variable called `fractionOpen` so we'll know if they're open or closed in the future. We named in `fractionOpen` with the idea of refactoring in the future to allow for partial opening and closing.
The `connectWiFi` function in the code below builds the command for the WiFi module pulling information from your config.h file (such as your network id and password) to try to connect to the network. You don't need to customize this code.
This final snippet runs if we use the button to restart the project without unplugging it. It allows the program to start over and try to reconnect to the WiFi network without throwing everything else off.
Design and Prepare the Shield
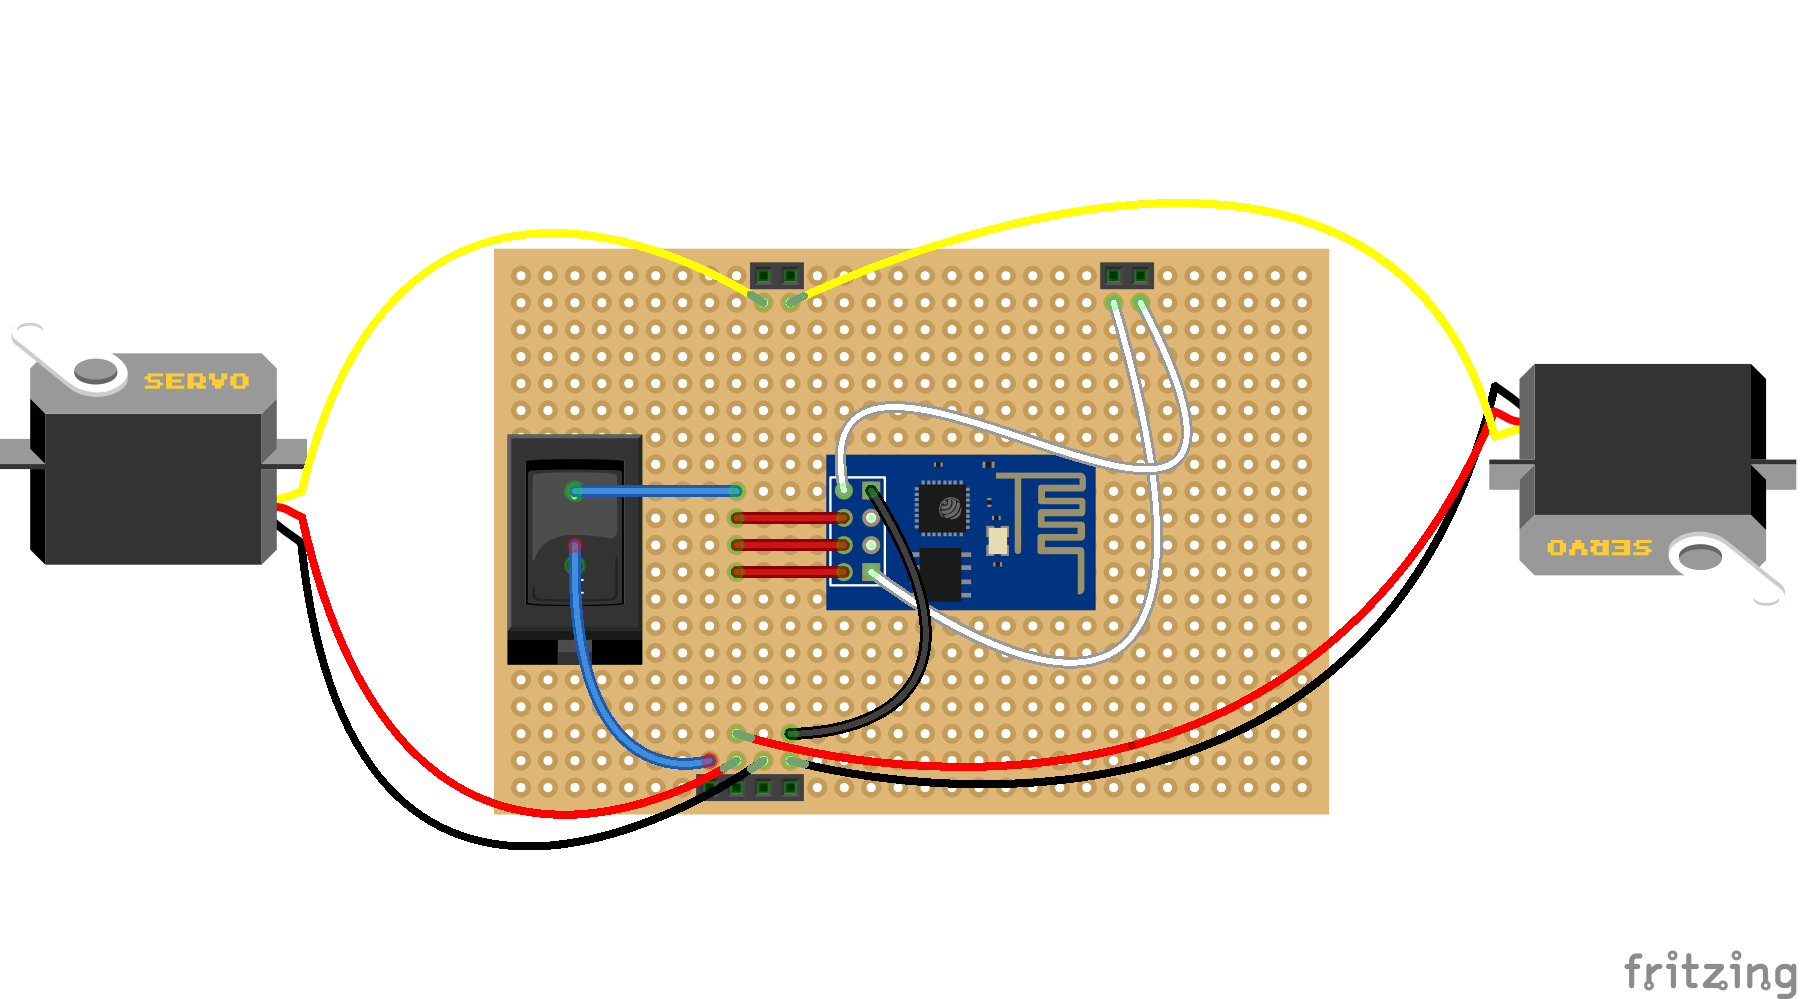
Next, it’s time to prepare the final shield for the Arduino. The idea is to remove the breadboard and create a shield that will plug right into the Arduino. Here is a mock-up of what the top of our board looks like. Note, we intentionally extended the wires to the servo motors (not pictured here) so that we could reach two windows that are about 10 feet apart.
The easiest way to do this is to have the soldering Helping Hand hold your double-sided circuit board
while you measure out hook-up wire
and prepare it using the multi-tool
.
Solder the Shield
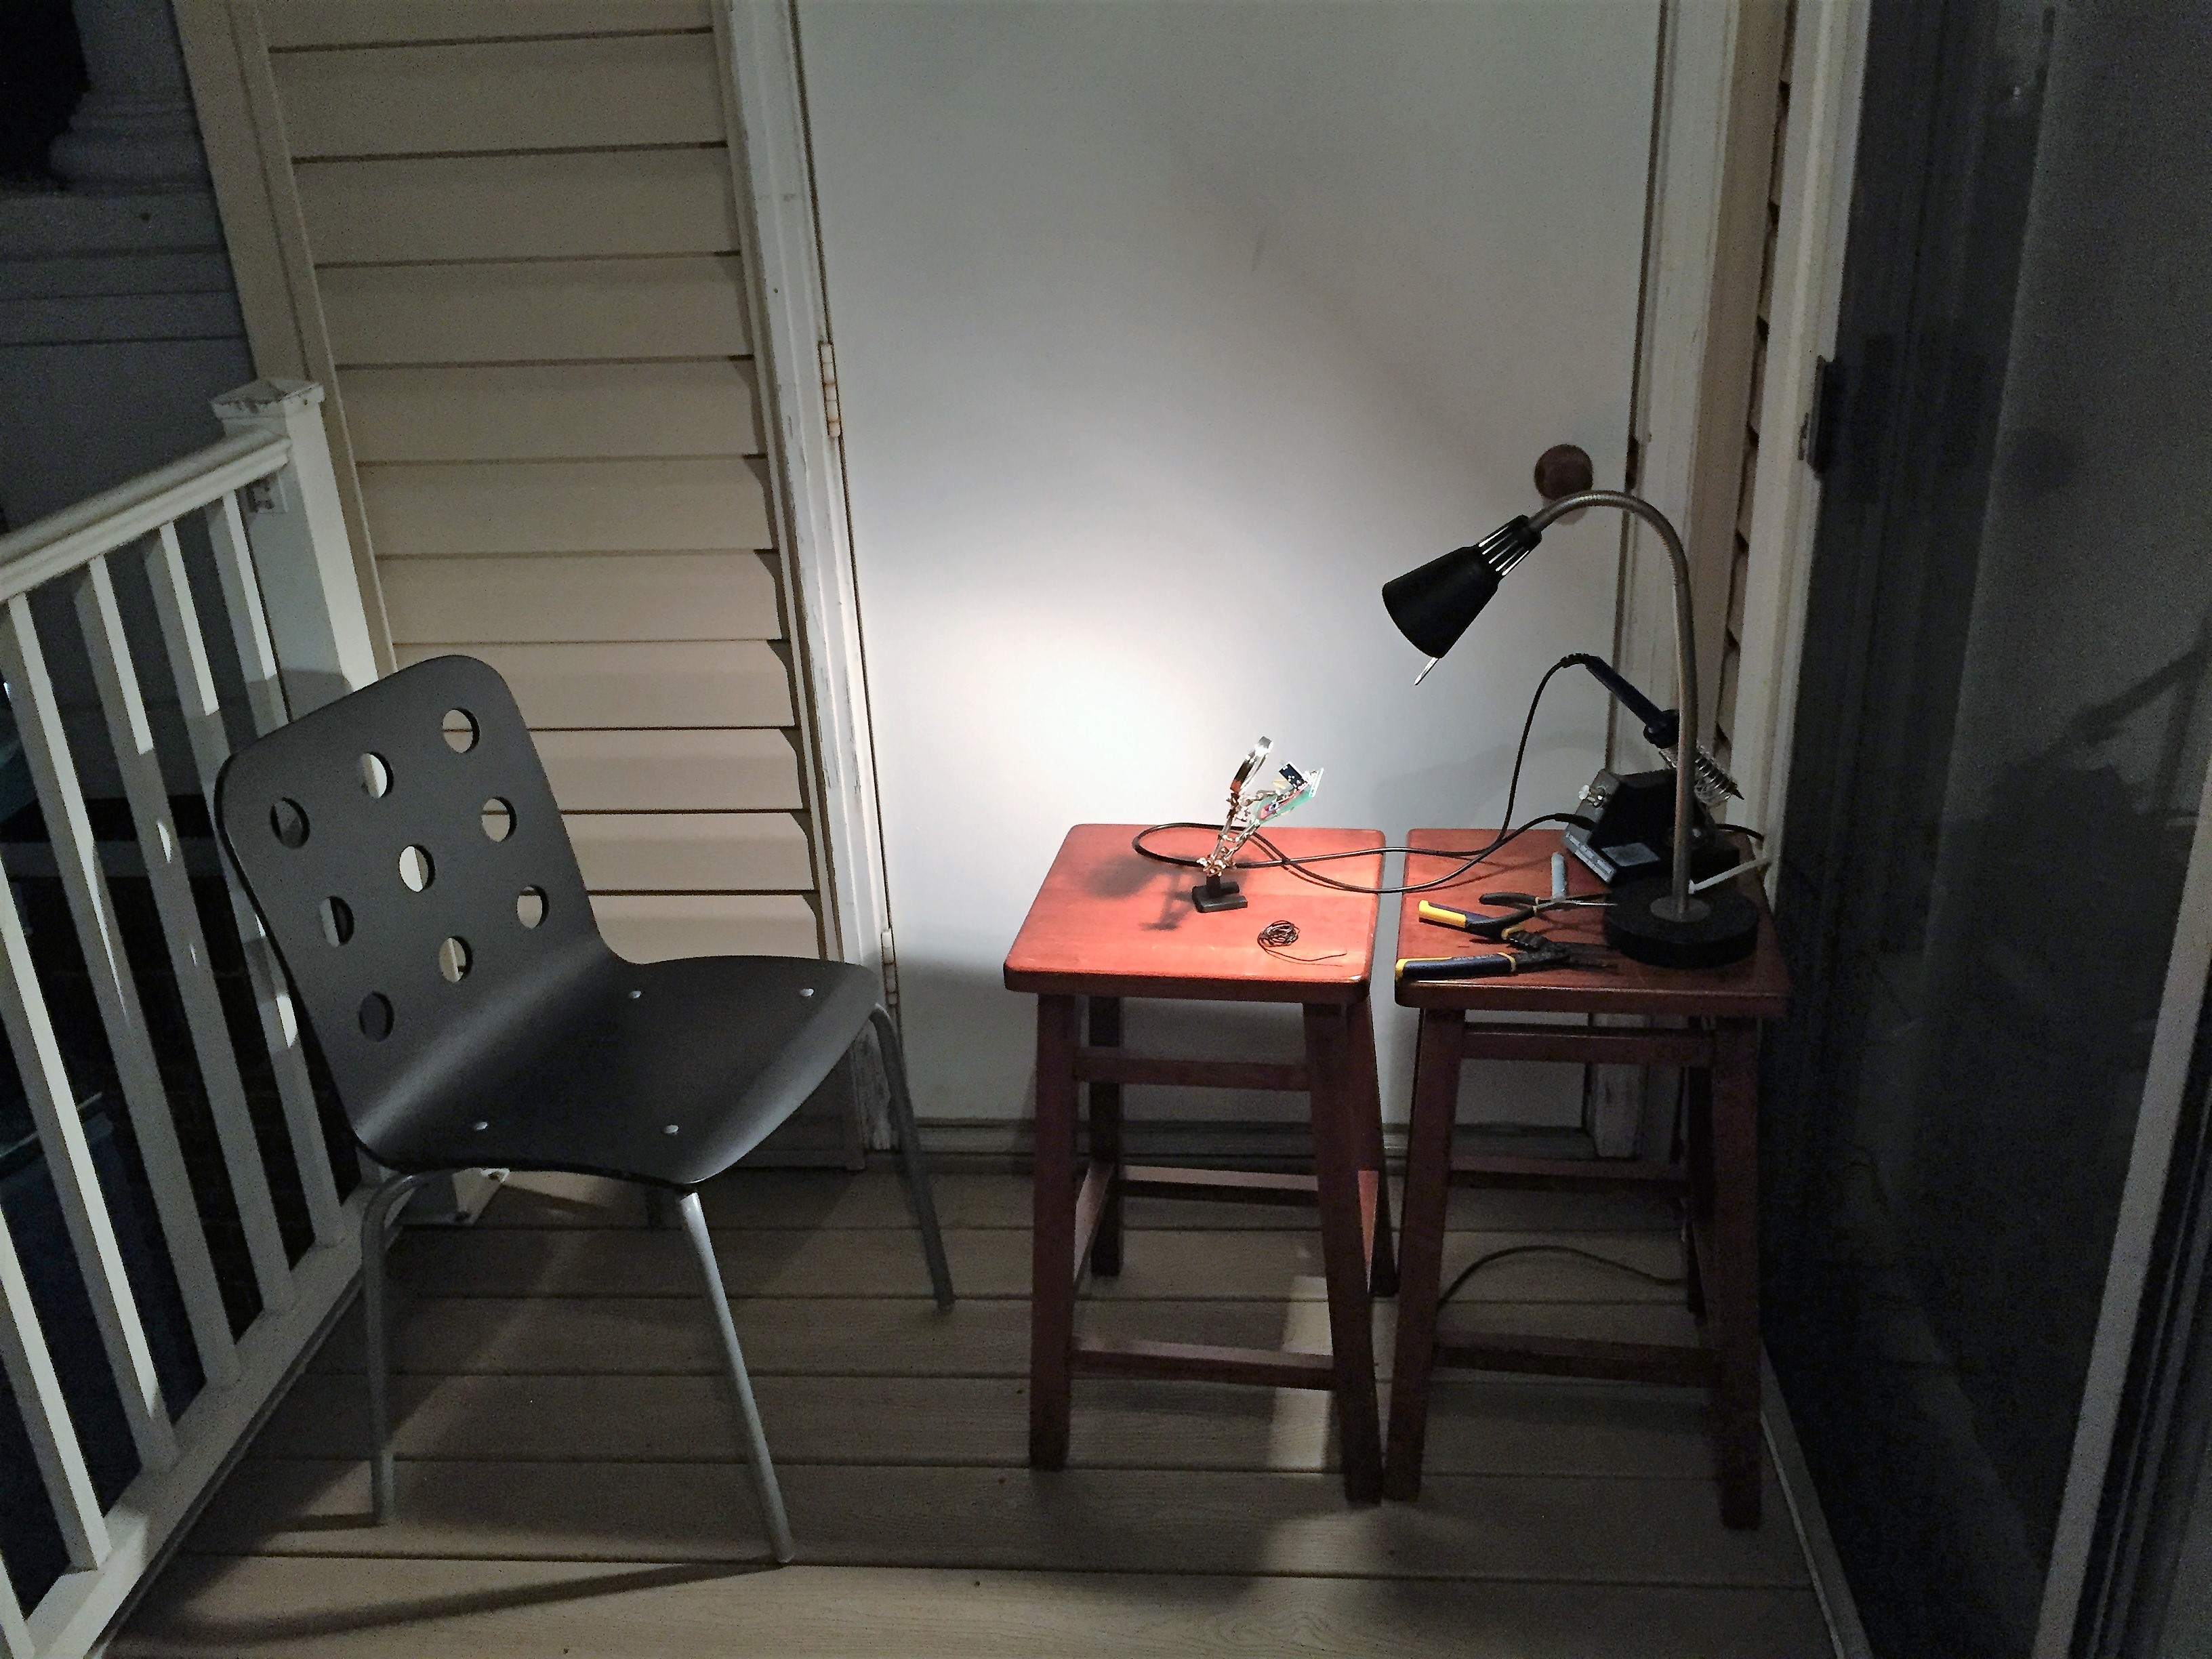
Now that you’ve got the board prepared, it’s time to solder! Make sure you find a well-ventilated space and that your hair is tied back (some bangs were harmed in the making of this project). Here’s our al fresco soldering setup.
When soldering, follow the schematic shown in Part 1.
Set it up!
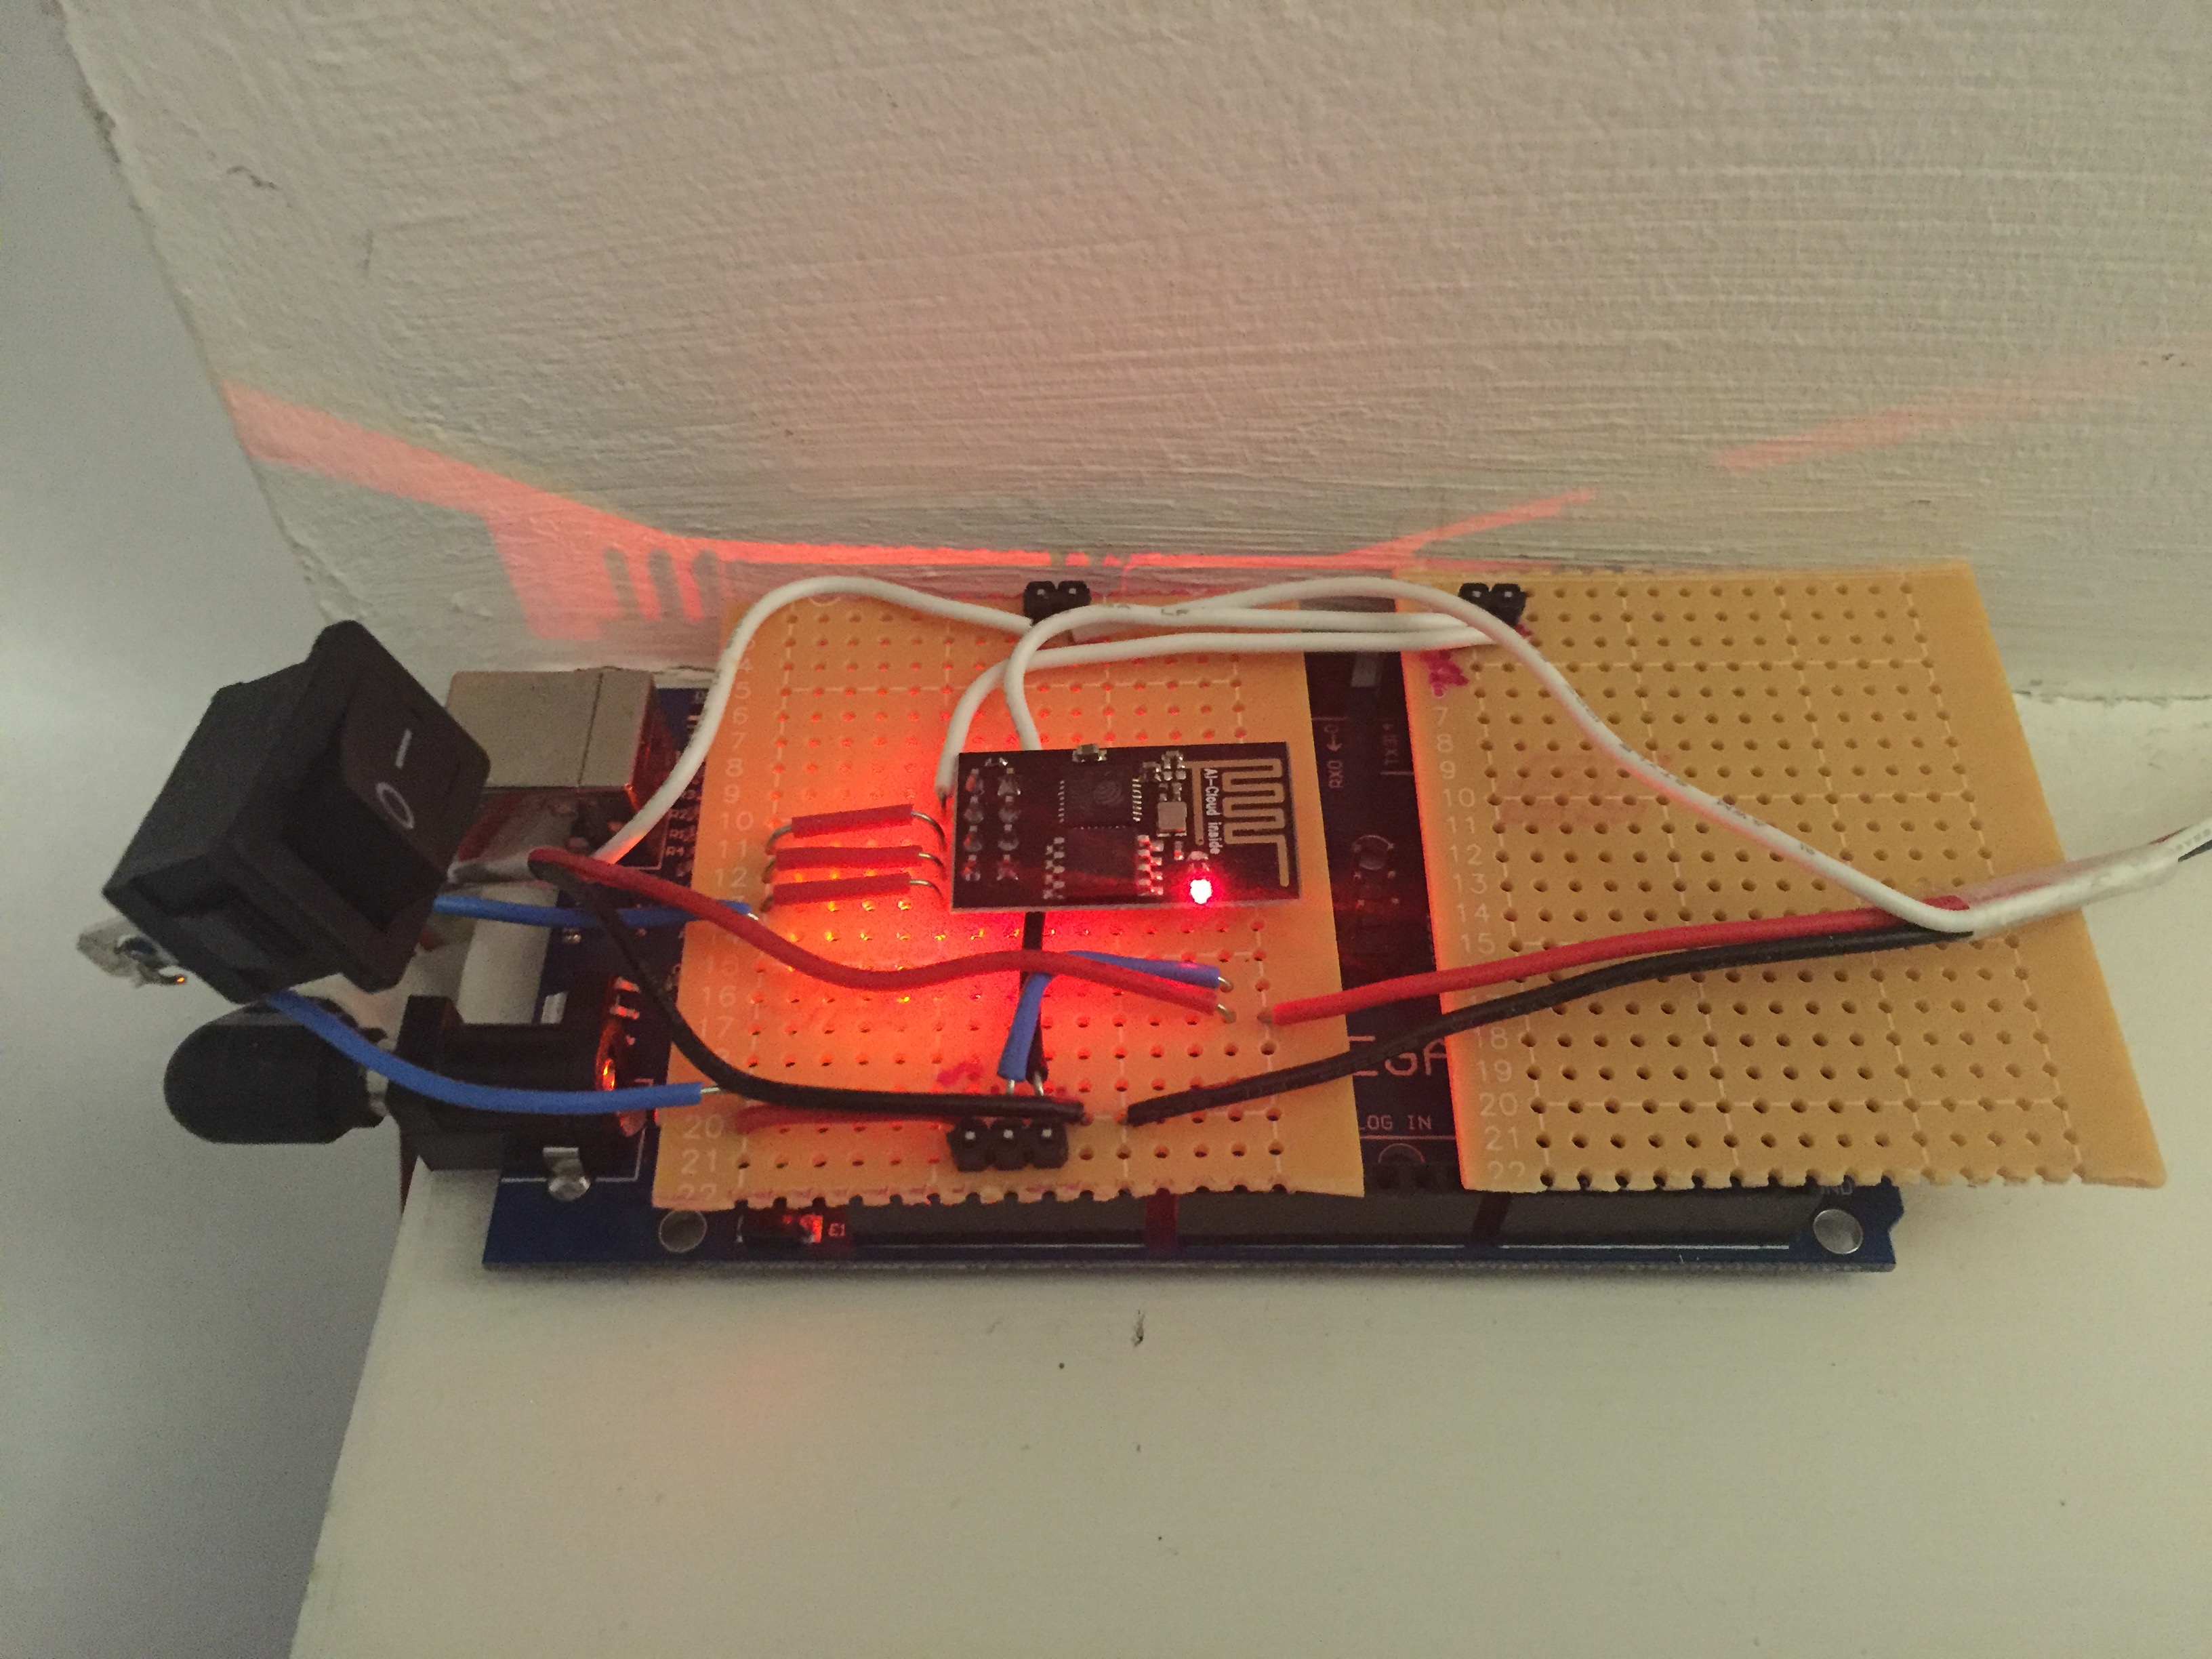
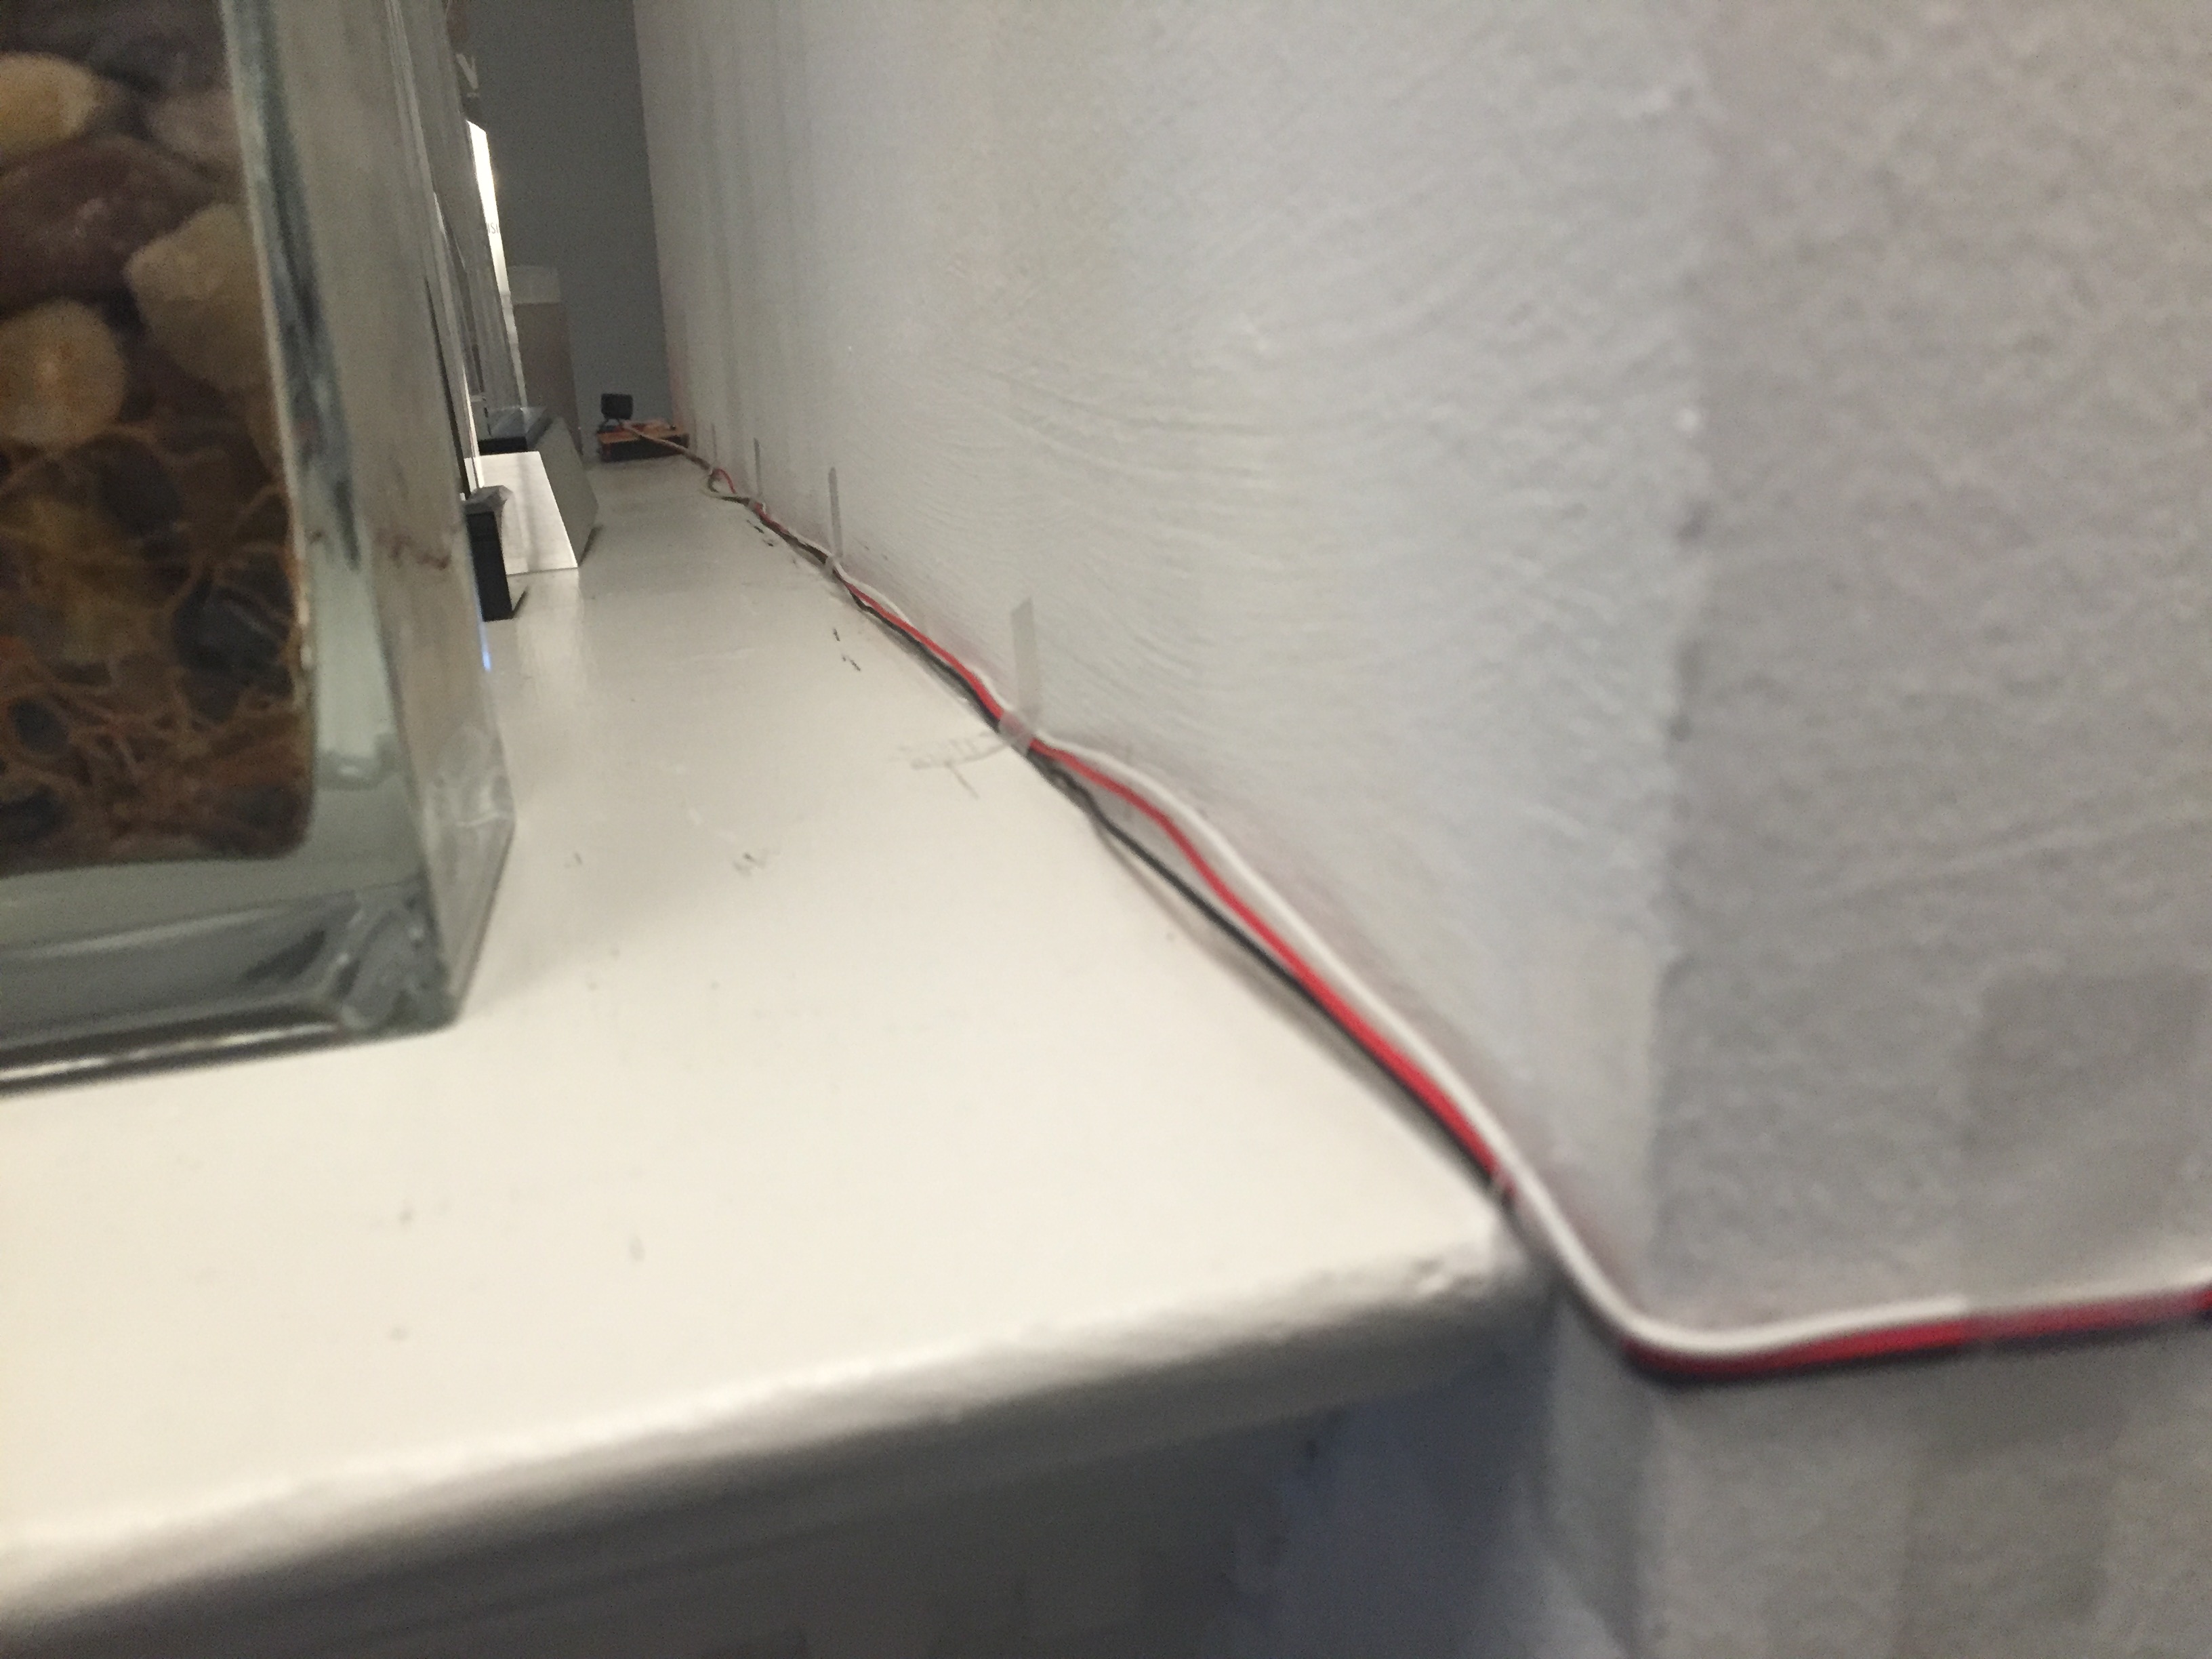
Finally, let’s find the Echo Blinds project a permanent home! For our purposes, we put the shielded Arduino on our mantle and taped the motor wires along the walls to keep the look somewhat clean. Disclaimer: I messed up on the size of the shield, so it’s jankily split into two. Don’t do that.
|
|
|

|
|
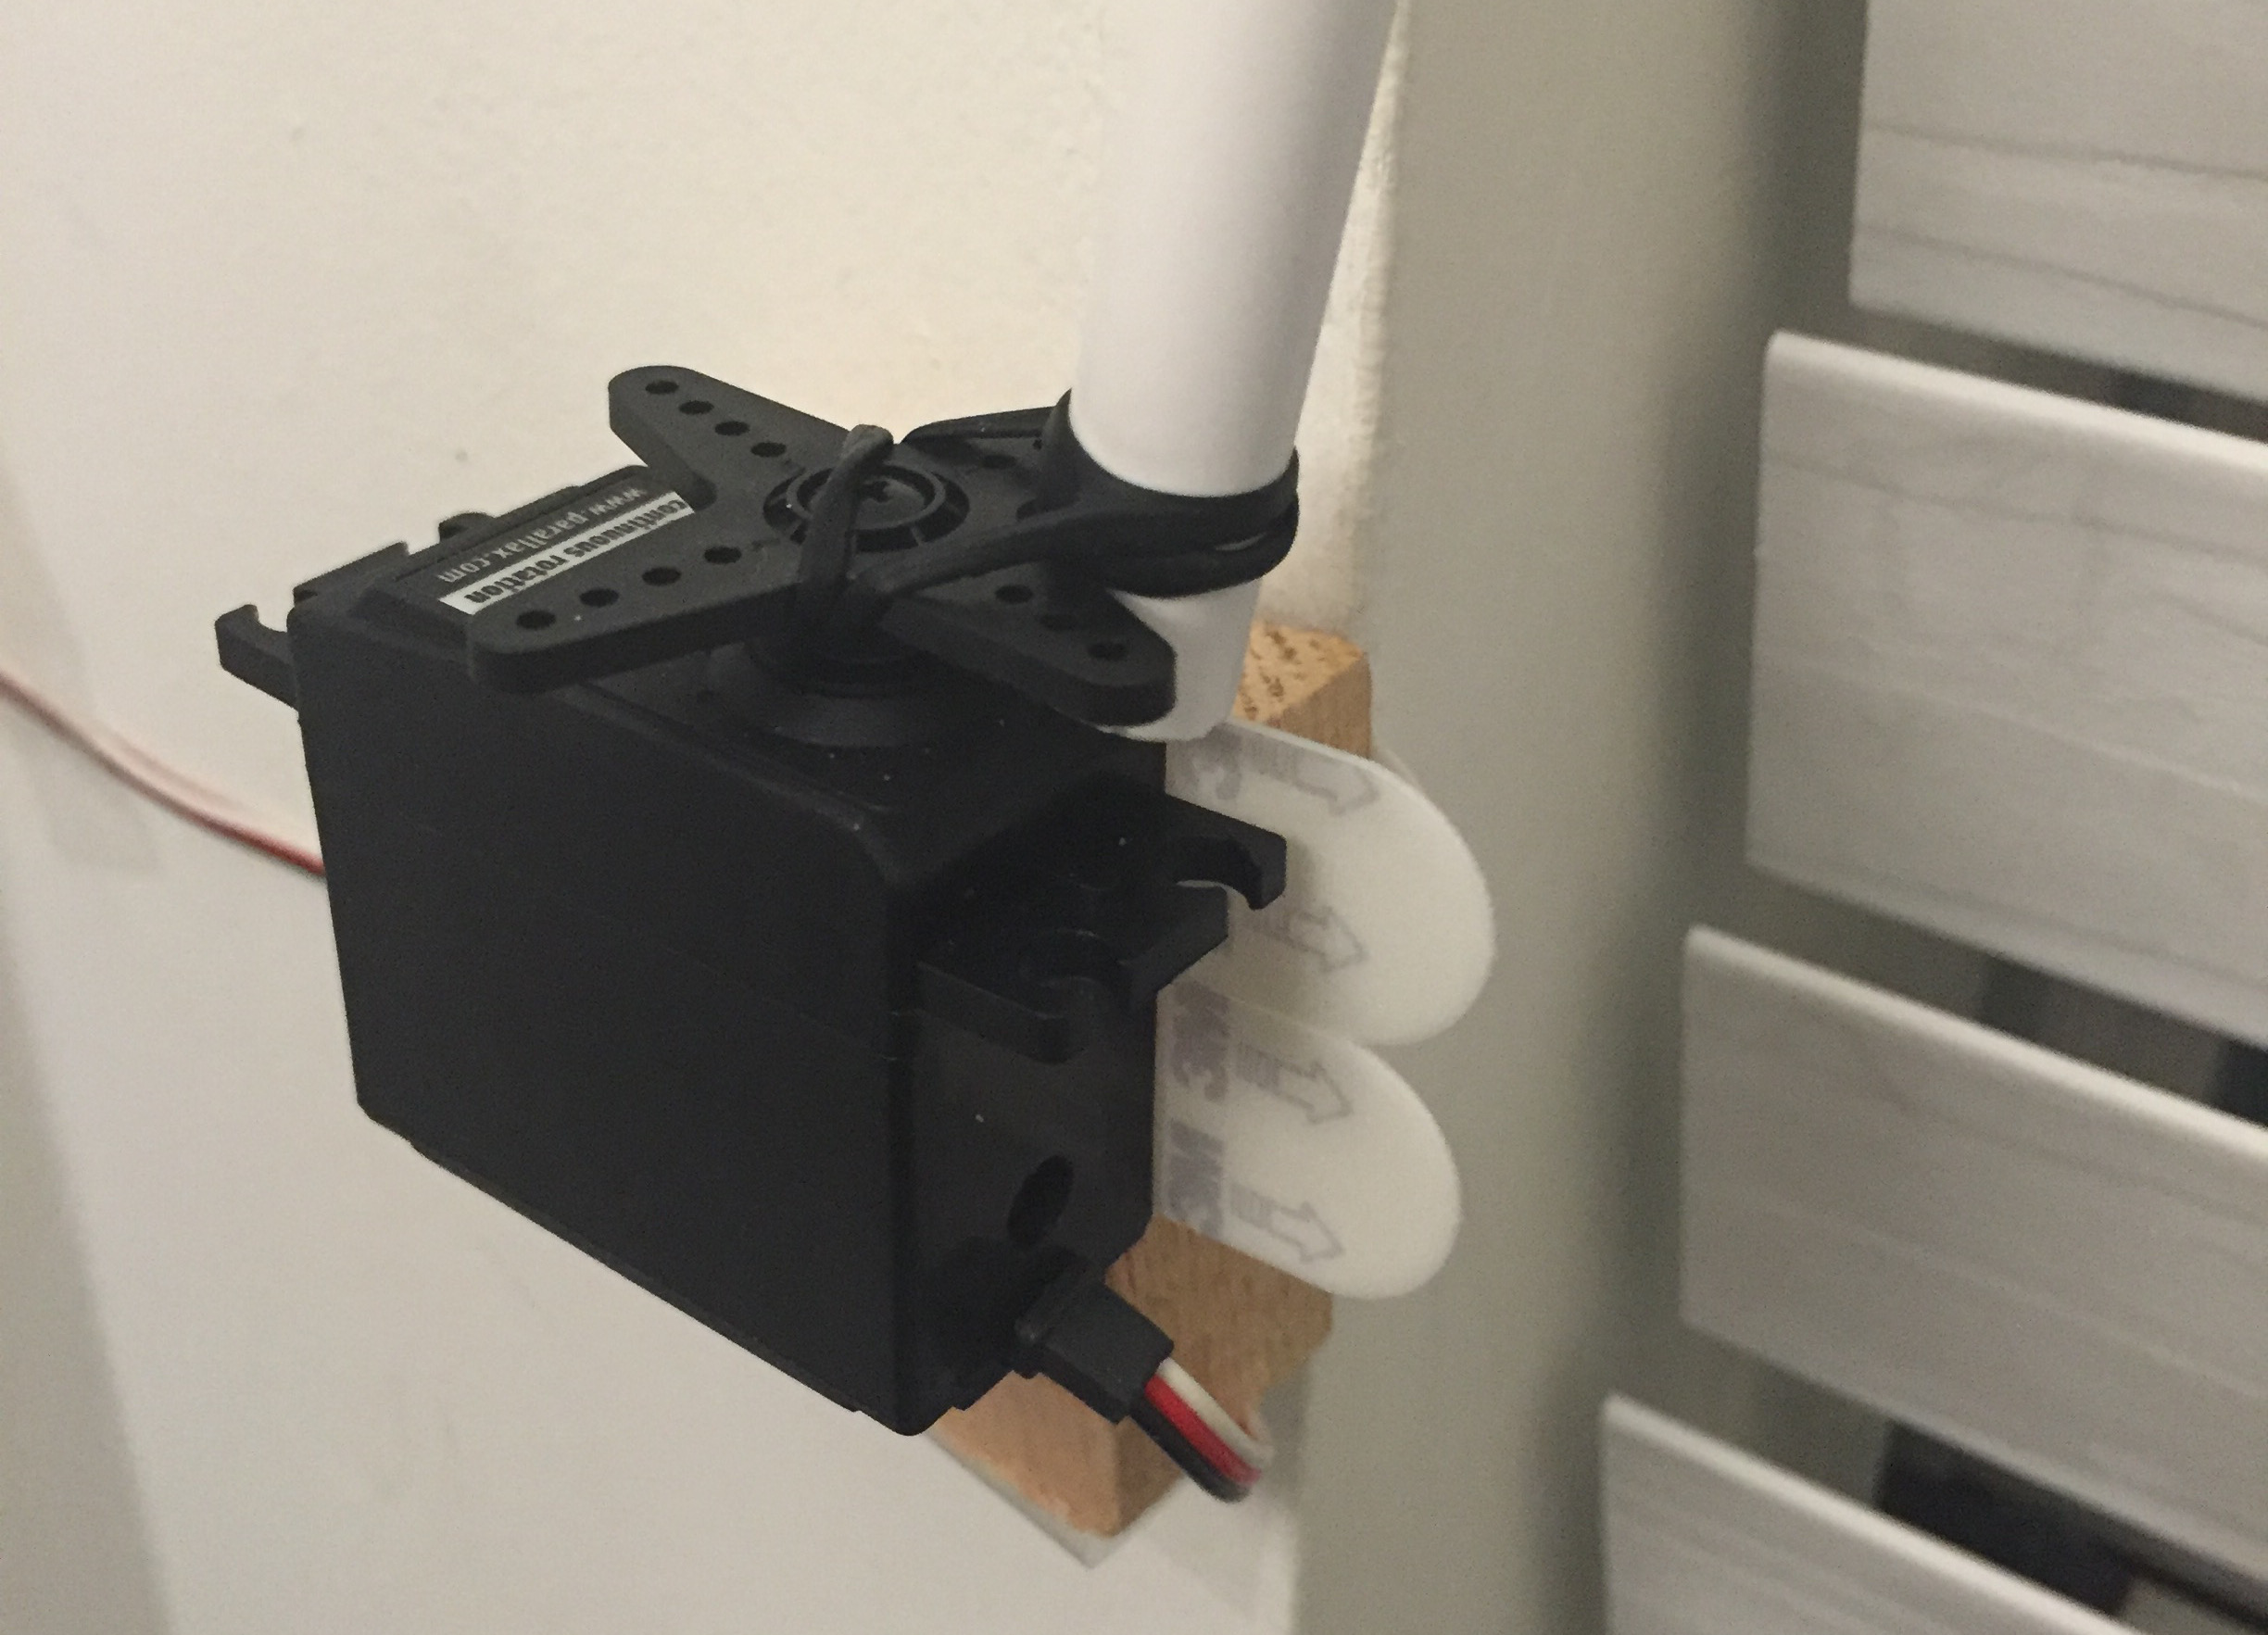
To attach the turning rod to the motor, we used simple rubber bands. We had to set the motor off the wall a little bit so the rod wouldn’t get stuck–thus the wooden block. Everything is held in place with simple mounting tape for now. It’s not a very glamorous setup, but it’s dece enough to get the job done!
Troubleshoot Common Problems
So far, this project has operated very reliably. We’ve had it running for over 5 months now and it’s still going strong! A couple of common problems you may run into during regular operation:
- Changing relay server IP - We’ve had to restart the relay server a couple of times for different reasons, and at least one of those times resulting in a new IP address for the server. Our blinds stopped working until we realized we needed to change the IP address in the config.h file. Unfortunately we haven’t gotten a DNS address to work yet, so for now we just have to be careful about keeping the IP up to date.
- Restarting WiFi - In case the WiFi module glitches, the easiest thing to do is just to press the button off and on again. That usually fixes any communication problems.
- Use the right power supply - Since it’ll be running constantly, it’s important to use a power supply that won’t set the Arduino and your house up in flames. This 9V 1A Power Adapter
will work for this project.
That’s all for Echo Blinds! What do you think of our first full project series? Anything you’d like to see more or less of? Is the explanation too high level, too in the weeds, just enough?
Look out soon for our next project: automatic bonsai tree watering!
- JMad