Bonsai Watering for Slackers - Part 3
All right, Slackers, now that we’ve got the circuit and software designed (see Part 1 and Part 2), it’s time to build the final product.
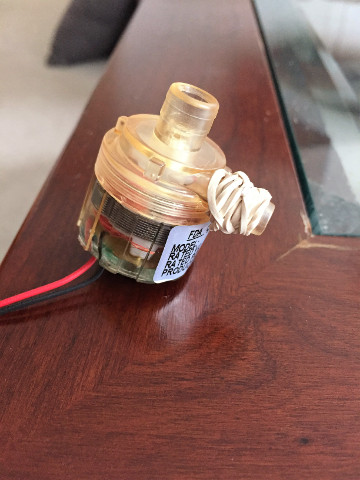
Customize the motor.
We first have to modify the motor slightly to secure a fit with the silicone tubing. We tried to find tubing and a motor that would fit together, but came up empty on Amazon, so instead we’ll just wrap any kind of rubber band around the output valve of the motor to slightly increase its outer diameter.
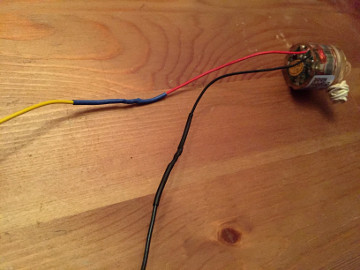
Next, we’ll need to extend the motor wires since they need to stretch out of the basin. Twist the wires together and add some solder to reinforce the join.
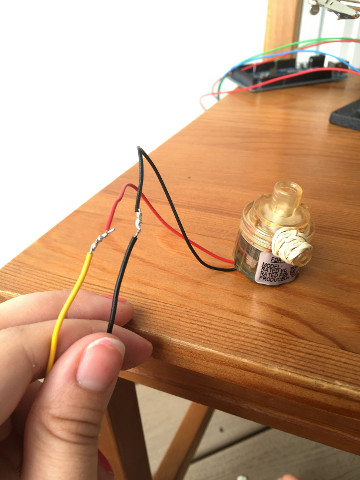
Since these wire connections are going to be submerged in water, it’s impoartant to protect them with some heat shrink tubing.
Build the Arduino shield.
Now let’s put together the Arduino shield we designed and prototyped in Part 1. As I mentioned in the previous post, my goal for the next project is to learn more about wire management so our shields don’t keep looking like a sloppy tumbleweed of wires :(.
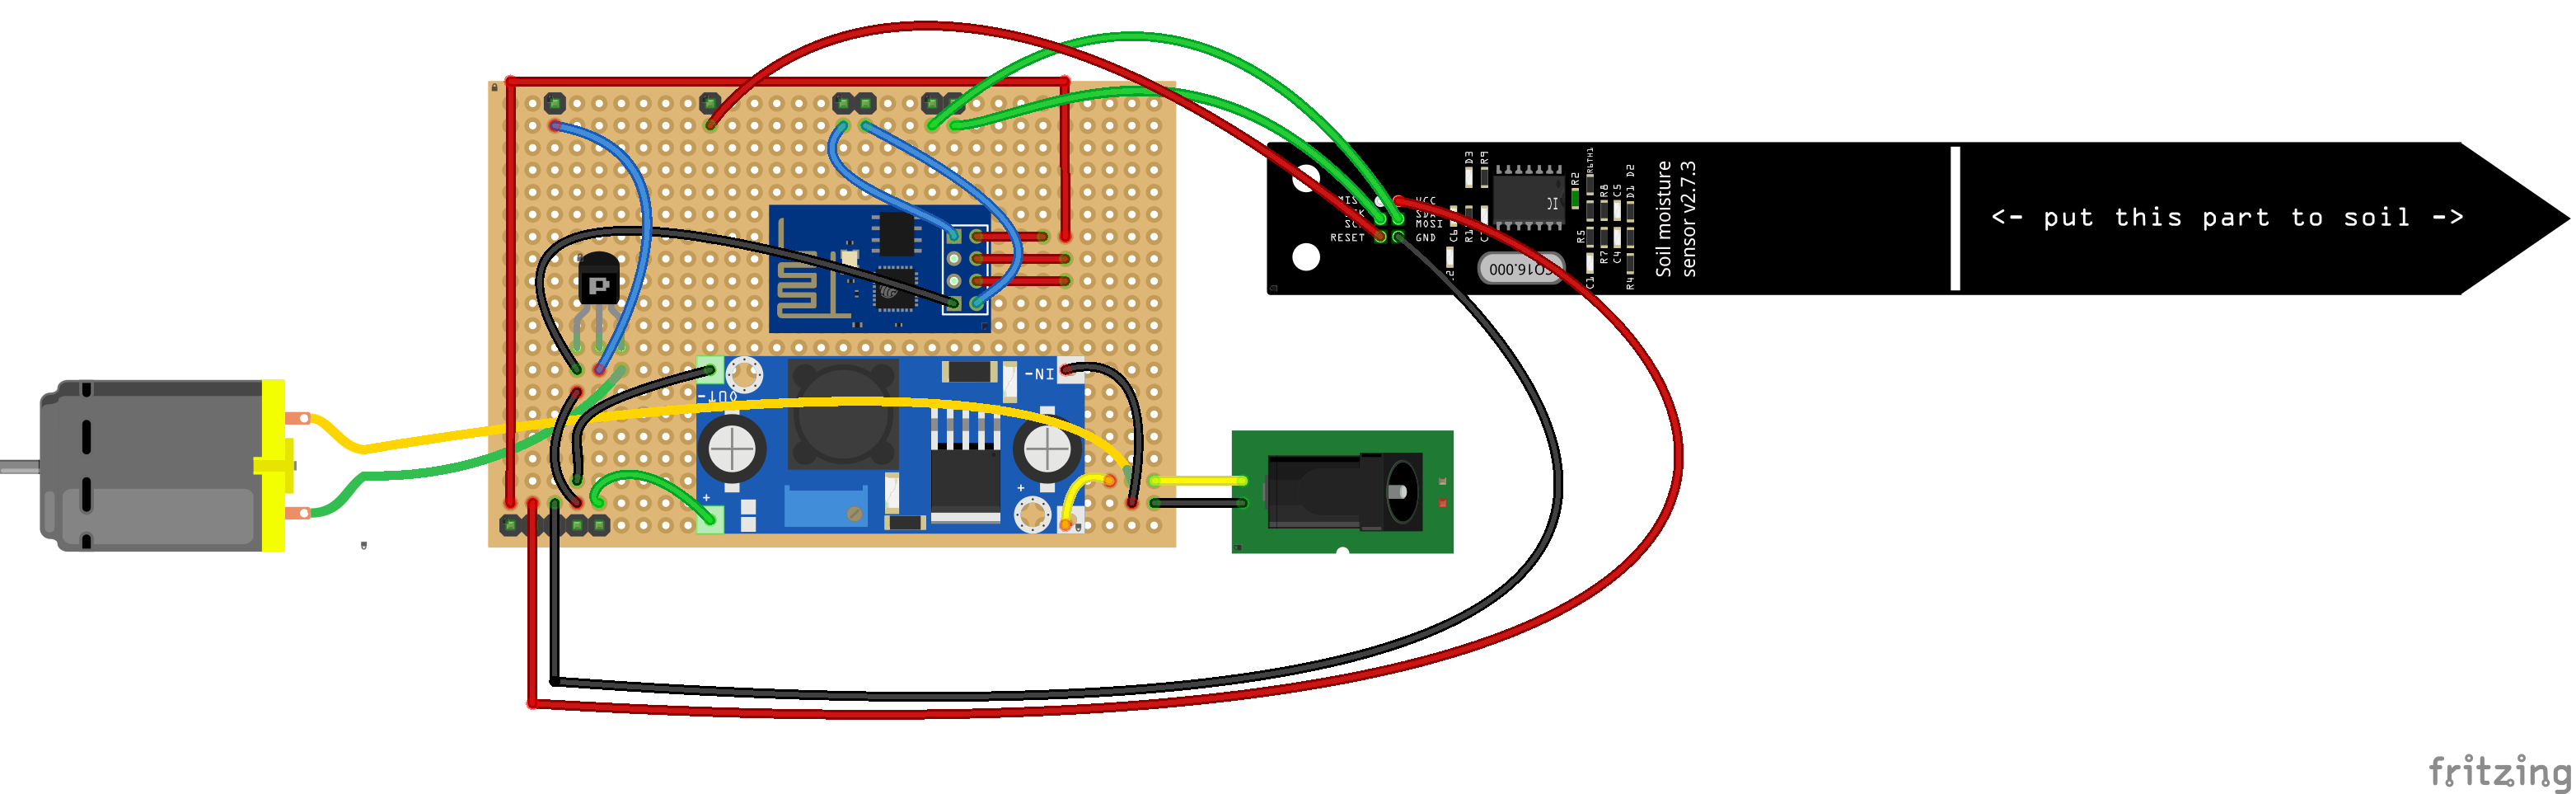
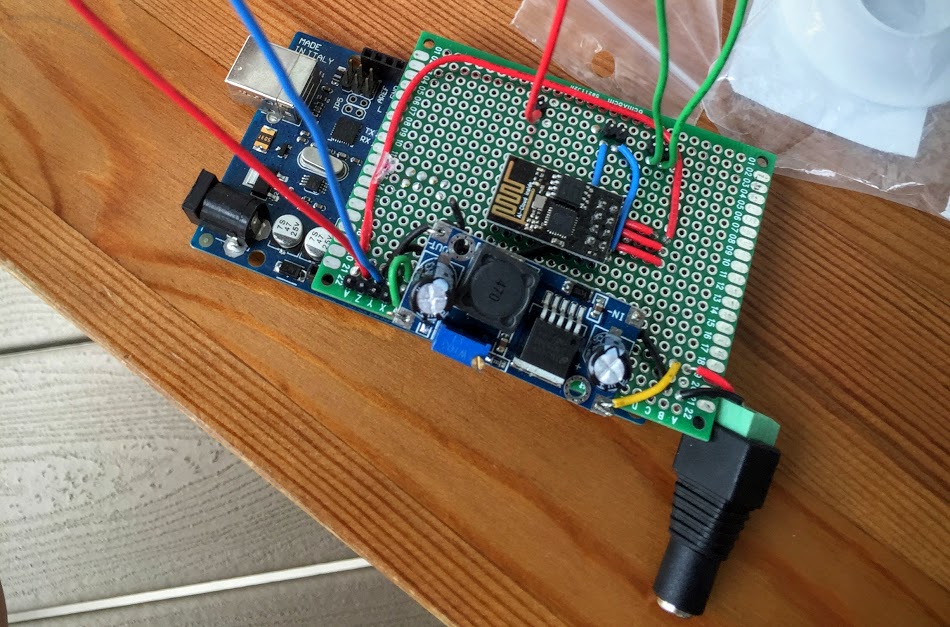
And here’s a close-up of the wire connections to the sensor.

Put together the tubing.
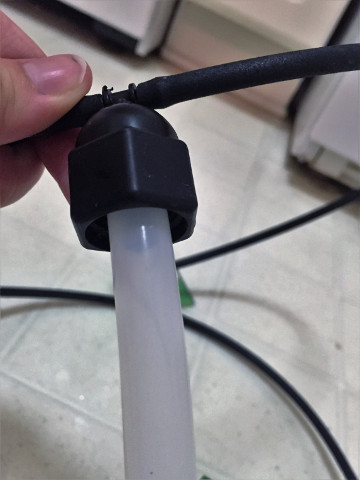
Now we need to put together the tubing. First, connect the drip irrigation tubing to the sprinkler converter
. Make sure to cut generous lengths of the drip irrigation tubing at first. Once they’re connected to the converter, they’re nearly impossible to pull off.
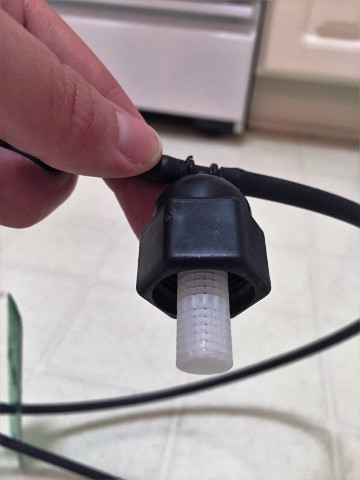
Next, pull out the little white piece from the converter.
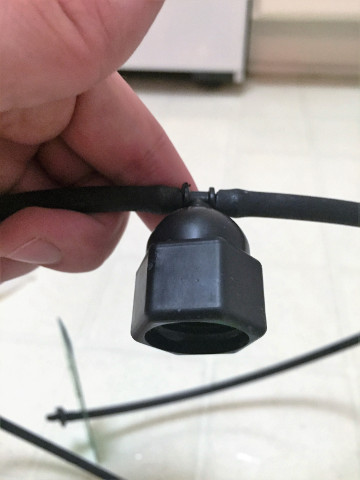
Doing so leaves a perfectly-sized connection point inside of the converter for the silicone tubing. Again, cut off a generous length of the silicone tubing at first so we can cut it down to length later.
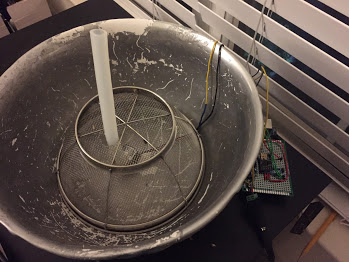
Customize the colander.
Take the stainless steel mesh colander and use wirecutters to make a hole big enough for the silicone tubing at the bottom of the colander. Snip a small divet out of the top of the colander so the motor wires can pass under the colander.
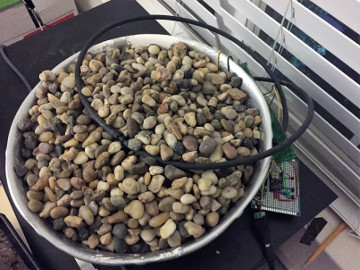
Build out the basin.
Finally, we can build out the basin. Place the motor at the bottom of the basin. Attach the silicone tubing to the top of the motor (the section modified with the rubber band). Next, place the colander over the motor. Make sure the tubing is pointed straight up through the hole you made and that the motor wires pass through the divet.
Now rockit out! The basin will get very heavy, so make sure it’s placed in a convenient location. Fill the reservoir to about 1 inch below capacity with rocks.
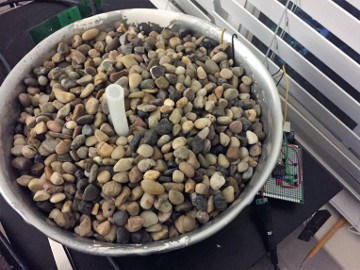
Next, cut the silicone tubing to length. We want it about a centimeter above the rocks.
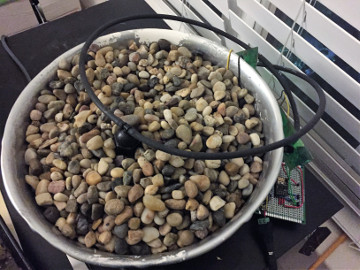
Attach the rest of the tubing setup to the silicone tube.
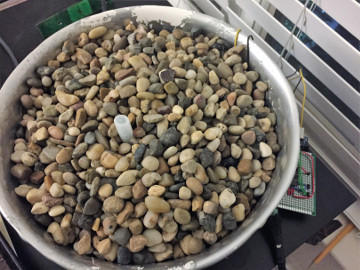
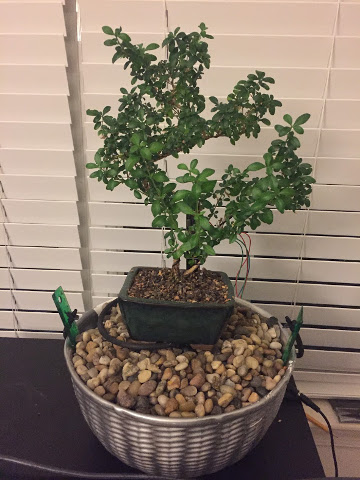
Fill the basin up to capacity with rocks to make an even surface.
Fill the basin up with water. Stop once the water is about 1 inch below the rock surface. Be careful not to overfill. Finally, place your bonsai tree on top, insert the sensor into the soil, and stake the irrigation tubing in the sides of the basin.
Customize the code.
Roll your mouse over the paragraphs below to highlight the related lines of code in the code snippets.
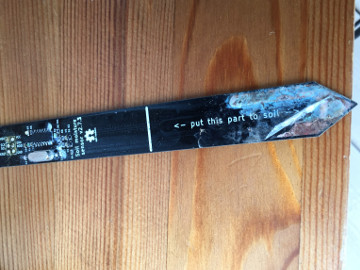
For the code, you'll first need to modify the setup variables of the bonsaiwater.ino file in case you used different pins.
Next, you can modify the moisture level at which the system will water your tree. We chose the 300 reading as the point at which the tree gets watered. If you find that the soil is too dry already at 300, you can lower the number. If the soil is too moist at this point, you can increase the number.
Next, we need to set the current time and date to calibrate your Arduino. The command has the following format:
setTime(hour, minute, second, day, month, year)
You can also alter how frequently a status will be posted to your Slack channel. We chose 1 hour.
The following loop is what gets repeated at the frequency you specified above. To adjust the power to the water pump, you can play with this number. Increasing it will send a more frequent analog signal thereby increasing the speed at which water will flow through the pump.
You can modify the message you'll get in your Slack channel when the tree is getting watered. Ours says "Bonsai H2GO!" And it makes us happy :).
You can also change the status message that comes through at the frequency you determined earlier. Ours comes in every hour.
Troubleshoot common problems.
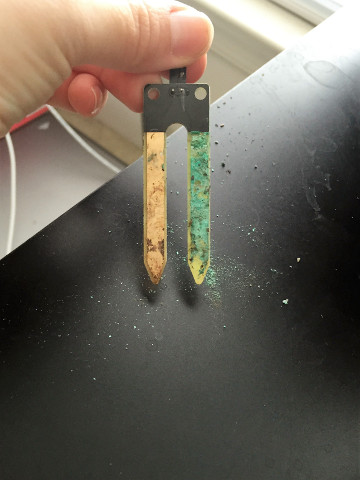
As we mentioned in the first post, this setup is still somewhat finicky. Ideally, we wanted to run the system 24/7 to take care of our plant, but after about a month of use, we started getting strange readings in our Slack channel. The soil was never getting dry and therefore the tree wasn’t getting watered. Turns out the sensor corroded.
 |
 |
You’d think a “soil moisture sensor” could handle some soil moisture…
Before the Chirp! sensor, we also tried a simpler resistive sensor, but that one corroded within a week.
Now we only use the system when going away on vacation so we can keep the sensor in good condition.
Here’s a couple of other problems we’ve encountered and solved:
| Problem | Troubleshooting Steps |
|---|---|
| Slack says it's watering, but water doesn't come out. |
|
| The system stops sending Slack messages. |
|
| The water overshoots or undershoots the tree. |
|
That’s it and that’s all! Hope you enjoyed walking through this project with us. Let us know what you thought in the comments. Also let us know of a better soil moisture sensor so we can actually live the Slacker plant-parent life.
-JMad